How To Lay A Gravel Driveway
What is a gravel aggregate driveway?
A gravel aggregate driveway is composed of loose, crushed and decorative stones. Gravel comes in a range of different colours, shapes and sizes, meaning that you can find a style that suits your style. Gravel isn’t just limited to driveways either, its versatility means you can use any leftover gravel for other landscaping surfaces, patios, paths, rockeries and decorative edging.
Benefits of a gravel aggregate driveway
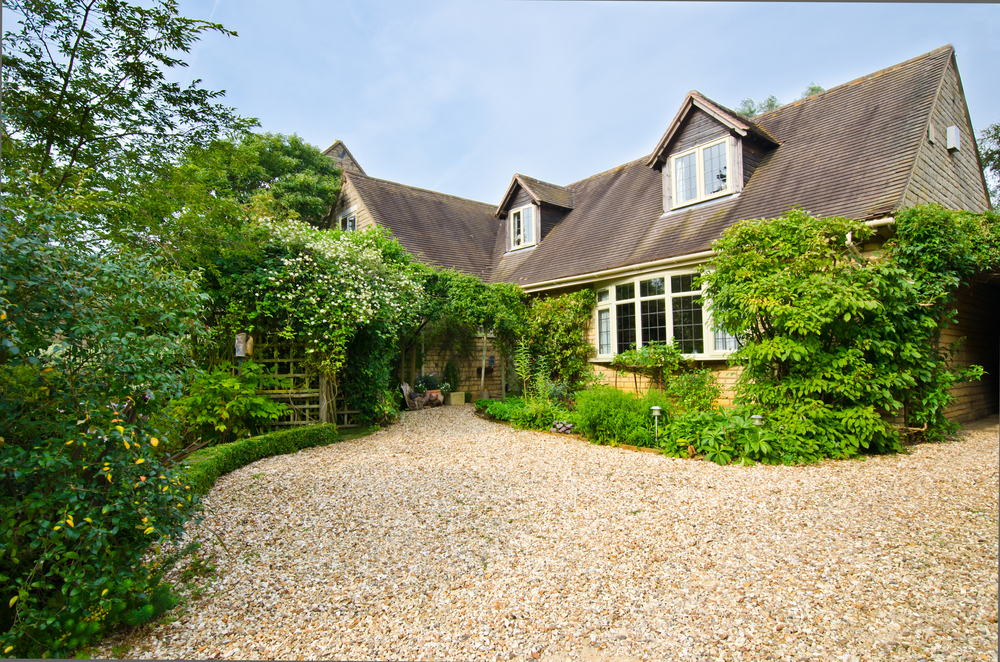
- The gravel looks great- With neutral tones that work in harmony with practically any other colour, a gravel driveway suits every house. Gravel works even better with warm colours like red brick or wood, making the house ‘pop’ and give it a homely feel.
- How the gravel sounds– Any homeowner will tell you there’s no better sound to get home to than the rumbling of the earth underneath your feet. It acts as a cue to let you know that you’re in a safe, calm space and you can relax.
- The most durable driveway– Concrete ages badly. The UK’s forever changing weather forecasts, hot summers and cold winters mean that concrete will quickly crack and look old. On the other hand, gravel doesn’t crack and will never look old! This means the maintenance is very minimal. In fact, the only maintenance required is that you top up the gravel once every few years (easy and inexpensive!).
- Cost-efficient– Using gravel aggregates is one of the cheapest resources you can use on driveways and lasts a long time. The only other additional costs are the gravel driveway grids (if you choose to use them), labour (If you don’t DIY) and a protection weed membrane (If you choose). All the additional costs are all personal preference, making it one of the cheapest options available.
- Security– As well as the comforting sound produced when you get home, the crunch is also a sound that can tell you when someone is approaching your home.
- Drainage– The aggregates easily drain the water, meaning that you avoid any puddles lying around.
The only disadvantage
Raking snow off a bumpy, moving surface can be a hassle in the winter, but hey… everything comes with a disadvantage!
If you’re not happy with this small disadvantage, there are other options available like laying asphalt, concrete or pavers.
What level physically do you have to be at?
If you’re down for a project, laying down gravel is a great idea. If you’ve got a bit of stamina, strength and time you will definitely be able to do it yourself. Doing it yourself gives you the advantage of paying less for labour and enables you to be satisfied and mesmerised by the driveway you did yourself every time you come home.
Materials needed
- Decorative gravel– like our clean stone aggregate
- MOT Type one levelling material– like our MOT type 1 limestone aggregate
- Crushed concrete– either choose from non recycled or recycled crushed concrete aggregate (the cheapest option).
- Fabric weed prevention membrane
How to lay a gravel aggregates driveway
Step 1- Planning your driveway
You will need to first make sure you choose the right colour scheme that suits your property and your personality. You can get some ideas from Pinterest, or just take a walk around your neighbourhood!
You will then need to measure your driveway to see how many aggregates and other materials you need. As a rule of thumb, you will need one bulk bag of gravel aggregates for every 5m².
Step 2- What do you want for the edging?
Solid block borders– These can look great and the different colours between the gravel and block border can really make the ground pop!
Boulders or rockery stones– These are a more natural edging option that can look great, especially if your property is in the countryside. They can also be used as a barrier between the gravel aggregates and plants- that looks eye-catching too.
Step 3- Digging the area for your gravel driveway
You must first remove any unwanted debris, topsoil or turf where you want to place your gravel aggregates.
You will then need to dig out the area to a depth of 200mm making sure that the area is completely flat.
Step 4- Lay down the gravel driveway sub-base aggregate
This is the right time to lay down your MOT type one material aggregates to your even, dug out driveway base. Made from crushed limestone, this material varies in size from 40mm down to dust and is popular because it compacts so well. It will ensure that your driveway stays stable and doesn’t sink underneath due to weighty objects like vehicles and people.
Leave 50mm of dugout depth for the weed protection membrane and the decorative gravel.
Step 5- Add the weed protection membrane
To stop weeds from growing and appearing through the concrete, it is essential that you use a weed protection membrane. The membrane will also allow water to drain adequately. Cut the membrane out to the desired shape and lay it out on top of the MOT material aggregate.
Step 6- Add your desired decorative gravel aggregate
It’s time for the pretty part of the process! Shovel your chosen decorative gravel such as clean stone to complete your project! Make sure the gravel is 55mm deep and the gravel surface is spread evenly. To make it picture-perfect- use a rake to make it all smooth and even.
Aftercare tips
Give your gravel the occasional weed– Even though you have put weed protective membrane down, it is still possible that after a year or so, a few might pop up in places. Simply pop on some gardening gloves and weed the area.
Place new decorate gravel every 3 years– only if it’s looking sparse and you think it’s needed.
We hope your new driveway is everything you expected and more! Hear the comforting sound of the gravel aggregate underneath your feet as you arrive home after a long day. Admire the project you did for years to come. Reward yourself after all that manual labour!
If you’re laying a new gravel driveway and you need the aggregates for it, search our website for competitively priced, sustainable aggregates.